Friday, 15 February 2013

Udon, Chicken, Mushrooms, and Peas.


Hmmm, where to start? All I can say was that I loved it. Bias maybe because udon dishes are my favourites, lol.

The thawed chicken
Snow peas, edges snapped off
2x200g udon packs
Peeling the ginger
To be peeled and diced
Sauce (there's hoisin and oyster)
Mushrooms cleaned and...
...chopped!~
Toss in sliced chicken, garlic, and ginger with veg. oil
Add mushrooms. Then add water, the sauces, and bring to a simmer. Add udon, peas, and sesame oil
Done!~
Boiled carrots added for more colour! A group member had some for lunch~ :3
Loved it!~ Except everybody kept feeding me the vegetables... ;A;

Fruits & Vegetables: Going the shapely way

Garnishing. Used to provide contrast of colour, flavour, or texture. To achieve this, various special tools are put to the task!
 During these labs, our test subjects where cucumbers, watermelons, and apples. Go under the knife, they emerged forever changed!~


Cut a V on one end. Cut V's to replicate teeth.
Cut a flat piece off the bottem. This will keep it stablized. Keep all scraps.
Cut in gills. Put a slit a top and use scraps to shape a dorsal fin. Insert snuggly.
Thin out bottem half to make it appear streamline. Shape scraps for fins and tail.
Bird's eye view
Fin! Compelete with eyes.

Next, we have a watermelon bowl!~


C'est un watermelon and special tool
Punch V's around base and over to form handles
Save cut outs for melon balls!~
 
Finish off by "melon balling" and fill in basket!~
Lastly, a bird apple!

Slice V's a top and on sides. Cut a base and save scrap.
 
Complete it with a head!
Lookin' nice! XD

Shaped Cakes then Altered

For this project, we utilised shaped pans (and premade cake mix)! Our first go with the guiter didn't turn out especially well...opps! Tired, my hands shook while icing the strings and in our haste, we totally forgot to finish it off with a border, tsk, tsk.

Chocolate cake mix
Shaped cake pan
 
Fresh outta the oven!
Finished product
 

From our first lab, we noted that we over floured the pan and took much precaution to remember to ICE THAT BORDER!
Using vanilla favoured cake mix this time...
Outing where the colours will go
Adding a fluff texture on its belly
Totoro finished!

Friday, 4 January 2013

Goin' Downtown

Had so many field trips that week, ahhh...
Really neat one that could be manipulated!

A gingerbread house?!

Mini cakes from Thierry


Frosted apples! Really wanted
one but doubts I could've finished it...

Mom's Grilled Cheese Truck price list
The Jackson 3 divided up

Truth be told, the Jackson 3 were wayyyy overpriced... @@ ugh...

Hot Cocoa and Marshmallows

A short and sweet recipe~ C: We a lots of fun shaping the marshmallows!

Cocoa powdered, flower-shaped marshmallow
Angels dancing 'round the cup? C:

Banana Splitsville

t'was quite the treat! This product is seperated into 3 parts: the doodads, caramel sauce, and the banana brulee. I've discovered how painful it was to eat the doodads; they're like swallowing needles! X.o

Final product!


Ingredients:

Basic Carmel Software:
  • 500 mL sugar
  • 250 mL water
  • 1 tablespoon light corn syrup

Caramel Sauce Software:
  • 1 batch caramel (above)
  • 500 mL heavy cream
Banana Brulee Software:
  • 4 bananas
  • sugar for coating

Additional: Ice Cream
Method:
  1. Combine the sugar, water, and corn syrup in a small, heavy saucepan and place over high heat.As soon as the sugar dissolved, heat your thermometer under warm tap water (to prevent thermal shock) and attach to the side of your pot, making sure that the bulb is completely submerged but doesn't touch the bottom of the pot. DO NOT STIR THE MIXTURE OR AGITATE THE PAN AT THIS STAGE!
  2. When the mixture reached 230°F (110°C), reduce the heat to medium and allow the sugar to colour gradually. As the temperature approached 300°F (150°C) the colour will start to turn amber. At this point, it's safe to swirl the pan gently to help distribute the heat evenly. As the caramel heads towards 340°F (170°C), it will reach a deep amber colour.
  3. Remove the pan from the heat and slowly stir with a metal spoon, allowing it to cool until the caramel falls from the spoon in a solid stream, like a string (keep stirring and lifting up the spoon). When it does, it's doodad time!
  4. Form the doodads by holding the spoon 12 to 16 inches over with caramel and drizzling a pattern on the parchment. The thinner it fall from the spoon the better (Hint: allow the spoon to unload into the pan for a few seconds before attempting the doodads. This will allow a narrower stream).
  5. Quick back and forth motions or side to side movements are the best (I personally like to make circles). It's all in the wrist. Allow the doodads to cool for 15 minutes then peel the paper off (not the other way around, you might break it). Stack in an airtight container with wax paper between in each pieces if you are not using it.
  6. After making 15 to 20 doodads, you should have sufficient caramel reaming to move on to the sauce phase.
  7. Return the remaining caramel to medium high heat and continue cooking until you dee the first sign of smoke (in the pot not the element!) Immediately remove from the heat, and add the cream all at once, at arms length (it will boil furiously). Once the mixture calms down, return to medium heat and boil for 3 minutes more, stirring occasionally. Cool to room temperature and then move to squirt bottle (or just into a glass bowl and cover with plastic wrap) and refrigerate for up to a week.
  8. To make the banana brulee, quarter the bananas (peel on) and then remove the peel and put sugar (we put a lot) on the flat part of the banana and place on cooling racks over several players of foil. (Don't try to do this on you dining room table). Don you safety goggles and fire up your torch (you don't actually need goggles). Hold the torch so that the very tip of the flame barely touches the banana, and move quickly back and forth until the sugar melts, turns brown, and bubbles. As soon as it looks like caramel (the top of a crème brulee), move on. You know you've got it down when a solid, glass like sheet of gold (no graininess) has formed on the banana.
  9. To do the split (so to speak), squirt a pattern of caramel sauce on a chilled plate top with 4 banana pieces (Lincoln log style), top with ice cream of your choice and finally, a doodad. But you can do it any style you want if you don't want to do the log one.
Heating up the mixture
Doodad
My favourite, a cute lil'music note!
Heating the mixture again to make caramel sauce
Preparing the plating~

Quartered banana
Heaping the sugar!
Brulee-ing the banana! Slightly burnt areas can be removed with a knife~
Looking good!~

Nut Brittle

Super yummy and easy to make! I forgot my camera so I took really unappealing pictures, oh noes! ;^;
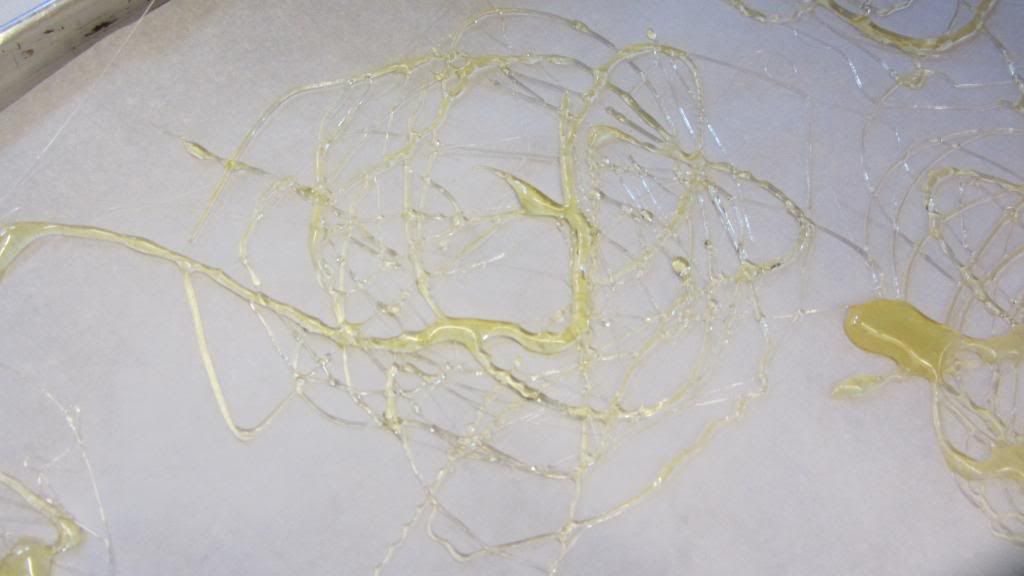
Brittle!


Ingredients:
250 mL sugar
125 corn syrup
f.g. salt
250 mL nuts of choice
5 mL butter/margarine
5 mL vanilla
5 mL baking soda

Method:
Spray a jelly roll plan with non-stick spray and place on a hot mat.
In a large glass bowl or glass measuring cup stir sugar, corn syrup and salt (if the nuts are salted already, you don't need to put in salt) with a wooden spoon or silicon spatula.
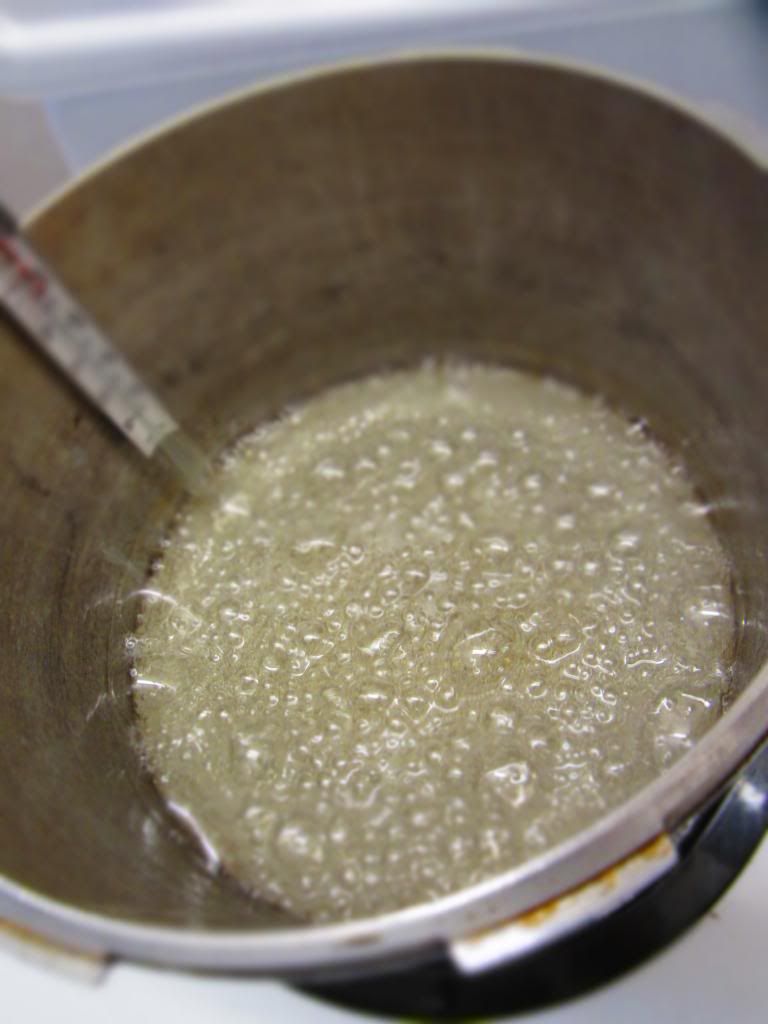
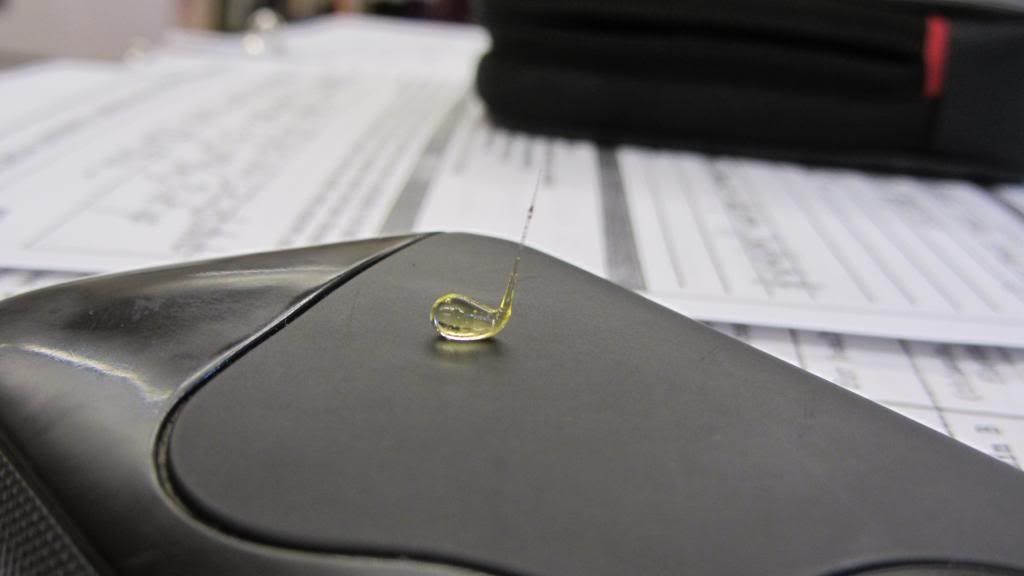
Microwave the mixture on high (cover the top with scale paper or a paper towel) until the syrup is pale yellow (about 5-8 minutes). If it doesn't turn colour when the time is up add 30 seconds until colour change.
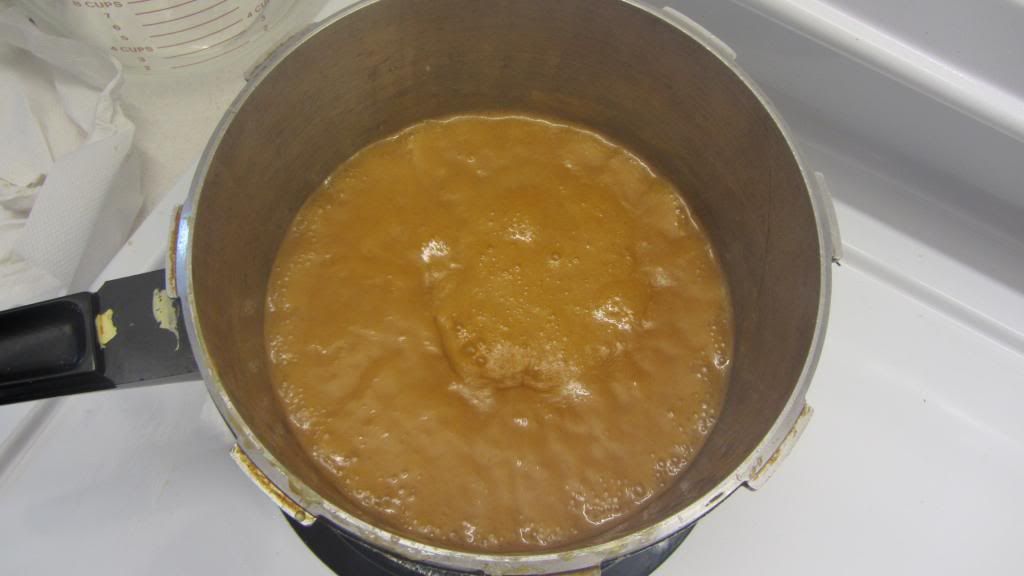
Add nuts and then put it back into the microwave for 1 more minute (or longer if you don't get an amber colour to the mixture, always add only 30 seconds every time you put it for longer in the microwave).
Immediately stir in the butter, vanilla and baking soda. Don't worry if it starts bubbling or foaming, it's meant to do that.
Quickly and carefully (it's HOT!) pour into the jelly roll pan. Spread the brittle evenly across the jelly roll pan (you have to do this quickly or it would start to harden).
When the brittle is completely cooled break into pieces.